
What is a bleeding? Why add bleeding before printing, layout and design?
1.What is the bleed
Before designing, we have to consider the cutting error of about 1-3mm when the paper boxes, paper bags, hang tags.etc are cut.
After knowing this premise, you should take measures before designing to prevent cutting off important content or leaving white edges due to excessive cutting errors.
Therefore, a reserved part of about 1-3mm (usually 3mm) will be added around the design product, which is what we usually call the bleed.
As shown in the figure below: inside the dotted line is the actual design finished size, outside the dotted line is the reserved bleed.
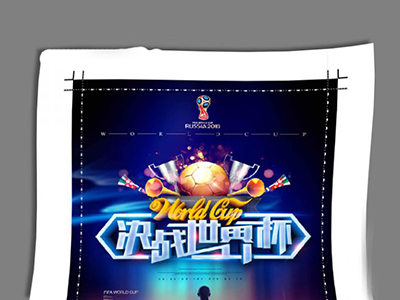
Figure 1
2.Why add bleed
So, why add bleed before printing design?
We use a simple schematic diagram of the cutting principle to let you understand the importance of the bleed at a glance!
1).Process of normal plus bleed
Through Figure 1 above, we reserve a 3mm bleed on each side, and start cutting below:
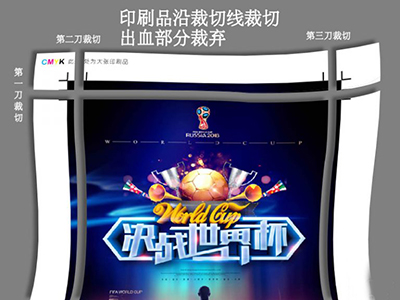
Figure 2
Through Figure 2, we can see the cutting on each side: the printed matter is cut along the cutting line, and the bleeding part around is discarded after the cutting is completed. (The wasted part that is thrown away will also bleed)

Figure 3
Figure 3 shows the actual finished product effect after cutting. Because 3mm bleeding is reserved on each side, even if there is an error during cutting, it will not affect the appearance of the finished product.
2). What will happen if there is no bleeding?
Above we have added the bleeding properly, and we must keep it under control.
So, what will happen if the bleeding is not added?
The experiment started:
Figure 4 is a design draft with no bleeding reserved around it, so it needs to be cut according to the edge of the printed product. We know that when printing, multiple single sheets are printed on a large printing paper at the same time (generally, the printing format is A1, A2, etc.)
As shown in Figure 4, for the first cut, cut the upper edge first. Because of the cutting error, some will be cut into the finished product. But neither cut to the important content, nor leave the white border, it is still very good.
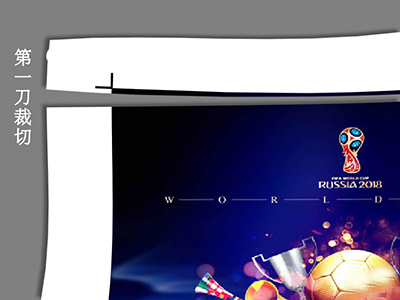
Figure 4
Figure 5, the second knife, cut the left side. Because of the cutting error, the cutting position is to the left, and the white edge on the large printed paper will be left on the printed product.
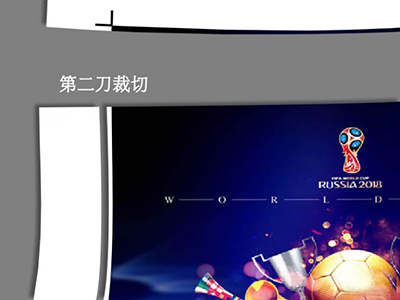
Figure 5
From Figure 6, we know that the finished product is very poor after there are white edges. Basically it is a defective product, which may cause a lot of waste. (If it is solved by trimming the white edges, it will inevitably cause dimensional errors in the printed product.)

Figure 6
3.to sum up:
In summary, the bleeding is a problem that must be paid attention to before designing.
Before designing, it is a good habit to set the bleeding on the software, and it can also save money for the BOSS.